
Bathroom Plumbing Concept – Raised Floor With Integrated Sump Pump System
This post documents the current concept for how the bathroom plumbing will function inside the cargo trailer conversion.
The bathroom floor will be raised approximately 8 inches, creating a dedicated plumbing cavity beneath the finished floor.
All bathroom drains—including the shower, toilet urine separator, and bathroom sink—will run inside this raised floor space.
Access panels will be built into the floor structure to allow maintenance of lines, fittings, and the sump pump.
System Overview
The raised floor provides enough vertical space to route all plumbing internally without mounting any tanks or lines under the trailer.
A 12V sump pump box will collect wastewater from the bathroom fixtures and pump it into the interior gray tank.
This approach keeps all plumbing inside the insulated envelope of the trailer for freeze protection and easier serviceability.
Plumbing Flow Diagram
┌───────────────────────────────┐
│ SINK │
│ (Drain enters floor cavity) │
└──────────────┬────────────────┘
│
▼
┌───────────────────────────────┐
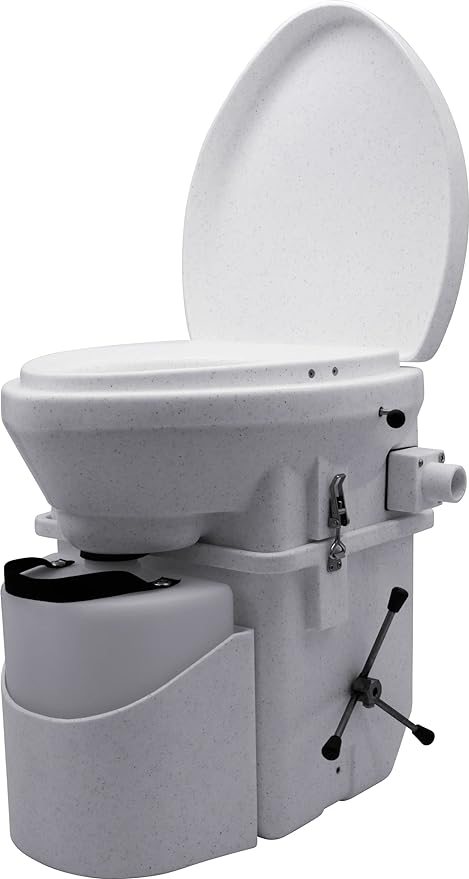
│ COMPOSTING TOILET │
│ (Urine Separator Outlet) │
└──────────────┬────────────────┘
│
│ Sink + Urine Combined Drain
▼
┌───────────────────────────────┐
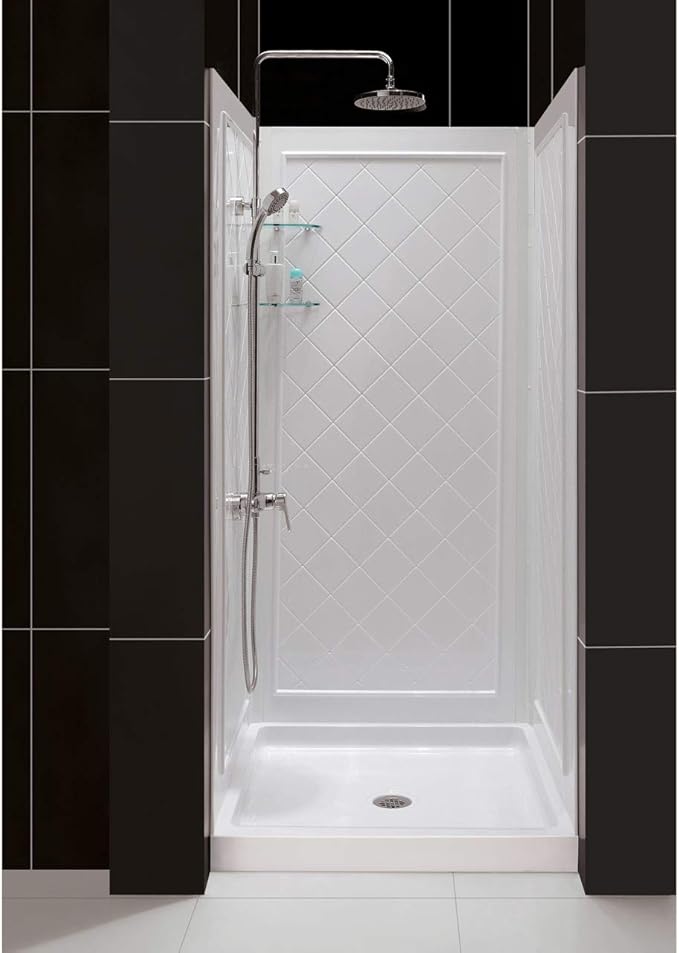
│ SHOWER │
│ (Low-profile drain to sump) │
└──────────────┬────────────────┘
│
▼
┌───────────────────────────────┐
│ 12V SUMP PUMP BOX │
│ - Collects all bathroom flow │
│ - Auto pump activation │
└──────────────┬────────────────┘
│ Pressurized Output
▼
┌───────────────────────────────┐
│ CHECK VALVE │
│ (Prevents backflow from tank) │
└──────────────┬────────────────┘
│
▼
┌───────────────────────────────┐
│ INTERIOR GRAY TANK │
│ (Mounted inside trailer) │
└───────────────────────────────┘
Key Design Details
- Raised Floor (8″): Creates a protected plumbing chase for all bathroom drains and the sump pump.
- Access Panels: Built into the raised floor for serviceability of the sump pump, fittings, and drain lines.
- Toilet Elevation: The composting toilet will sit at least 1 foot above the sump pump to ensure reliable gravity flow.
- Sink Drain Tie-In: The bathroom sink will tie into the urine line to flush and clean the line and provide enough liquid volume to activate the sump pump float switch.
- Shower Drain: A low-profile drain routes directly into the sump pump box.
- Check Valve Placement: Installed on the sump pump discharge line before the gray tank to prevent backflow.
- Interior Gray Tank: All wastewater is pumped into an interior tank for freeze protection and easier maintenance.
Why This System Works Well for an Interior-Only Plumbing Layout
This design keeps all plumbing components inside the conditioned space of the trailer, eliminating the need for under‑floor tanks or exposed plumbing.
The sump pump allows the gray tank to be positioned higher than the shower pan or toilet outlet, giving full flexibility in tank placement.
- No exterior tanks: Better freeze protection and no road debris exposure.
- Flexible routing: Pumped discharge allows tank placement anywhere inside the trailer.
- Serviceability: Access panels ensure all components can be reached without tearing up the floor.
- Cleaner plumbing: Sink tie‑in keeps urine lines flushed and reduces odor risk.
This mock‑up represents the current direction for the bathroom plumbing system and will be refined as the layout and tank placement are finalized.